

tip 1: Create a banner. Using a punch, circle or scallop, punch out your shapes and then fold in half and hang from a ribbon or string
tip 2: Draw lines for your title. In this case I drew lines that were too long and thought it looked funny. I decided to make the lines into arrow and it totally worked! I love how it looks now.
tip 3: cut patten paper out to look like a tag, punch a hole and add ribbon or string.
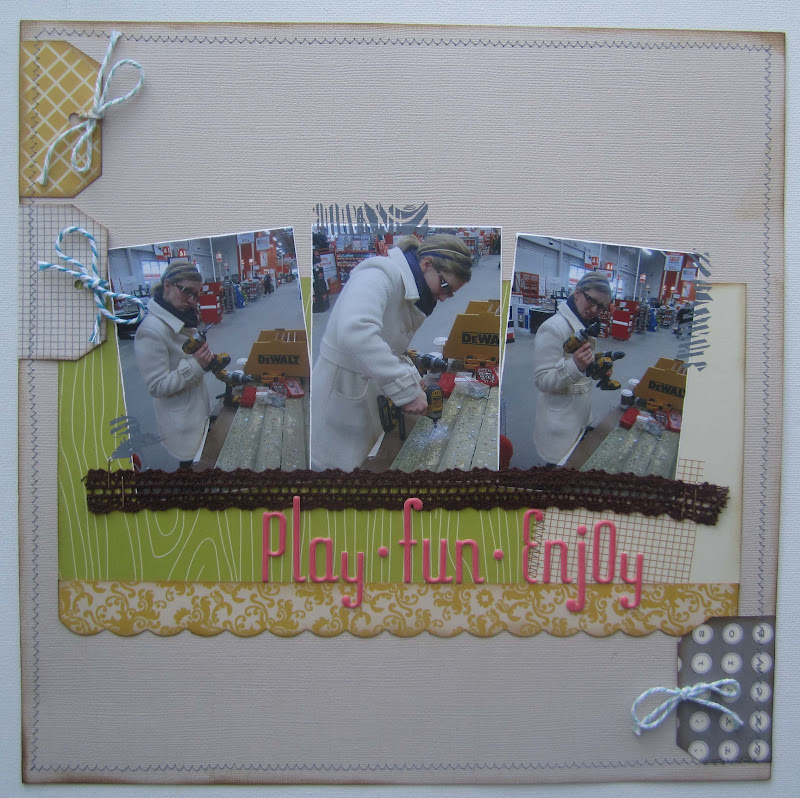
tip 1: Cut patern paper into tags and add as embellishmetns.
tip 2: Add a series of photos for a fun look.
tip 3: Use zeros when you run out of O's.

tip 1: Layer stamps to create a background.
tip 2: create a banner and using twine drap the banner across your page. Flip the ends up of your paper peices to create dimension.
tip 3: use the burlap shapes in your kit, cut out with dies or free hand to create embellishments
tip 4: add staples... I don't think you can ever go wrong with staples.

tip 1: Stitch over your alphas for a fun, great look!
tip 2: Cut your embellishments out of your paper! The flower and strip are from the fabric 12x12 paper.
tip 3: Use different sizes of photos, here I had a 3x4 & a 4x6 printed out. This could easily be achived by cuttine down your photos.

tip 1: punch out butterflies and add stitching to create the butterfly's flight pattern. Don't have a machine and don't want to hand stitch.... use a fine tip pen/marker and draw it in.
tip 2: round corners.... rounded corners are never a bad idea.
1 comment:
Love the banners you've created.
Post a Comment