
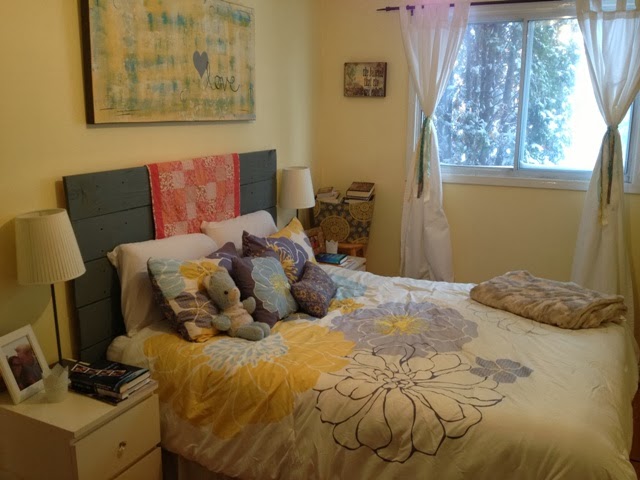
When we moved into our place I knew I wanted the colour changed, I love white walls so taupe just doesn't do it for me. We rent from the most wonderful woman / friend and she is so fabulous when it comes to creating a space we love. Want to paint? Go ahead. We're really so lucky & grateful. White walls and pops of colour, that's what I wanted. I went out, got paint and surprised Cory when he got home from work, "Hey Hun, we're painting tonight!" hahaha. The end result- I love it, it is so bright and cheery.

Before

Before

After

Adding pops of colour:
- table cloth is a piece of fabric that I found in the clearance section of the fabric store- $5 for a meter
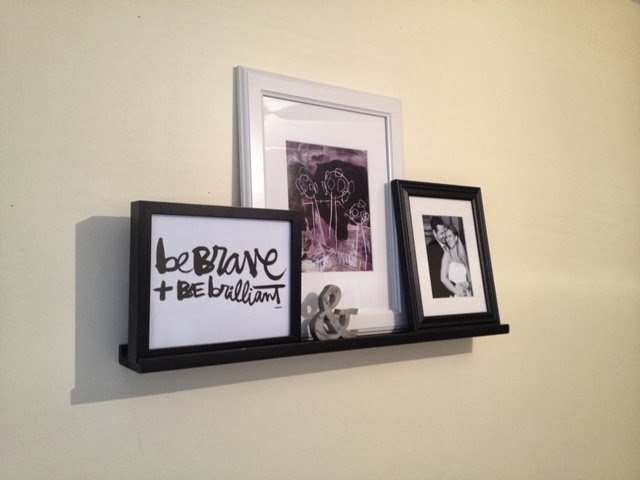
- chalk art, my flowers and the alphabet for Anna
- fresh flowers
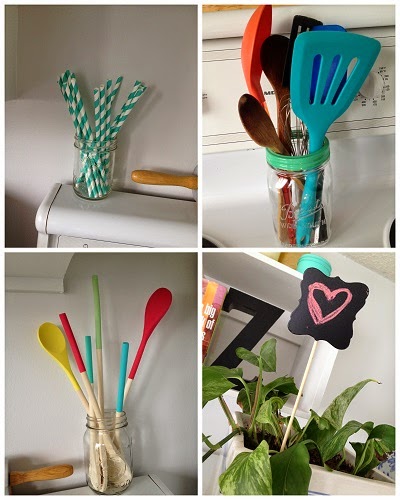
Adding pops of colour:
- a mason jar with teal paper straws that I found at Target for $1.99
- coloured kitchen tools that I already owned & a teal mason jar lid (2 for $5!)
- painted wooden spoons, 2 packages of spoons for $2 each and then paint I had (paint was on sale for $0.99). These spoons are for looks only.
- chalk sign I found at Michael's for $1.50

Adding pops of color:
- painted mason jars... I love a painted mason jar
- goblets I found at Target, 4 for $3.99
- blue mason jar and blue electric cover I found at an antique market . I paid $16 for the jar and $5 for the cover. These were my most expensive decorative purchases when adding color to the kitchen.


