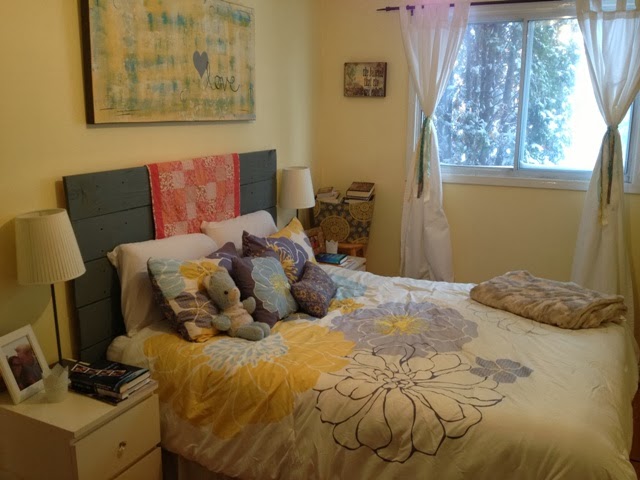
Some of you might remember when I posted about my office/studio tour, about five months ago we moved my office back downstairs and our room back into the master. I confess I was a little sad but the decision was based on the lack of sleep we were all getting. Anna was having a tough time sleeping through the night and I though that if we were just down the hall from her room it may make a difference (it did for a while but then she went back to sleepless nights). I have grown to love my cozy room with the sun shining in and as for my office- it's a work in progress.
Here's a peek into my space...
This is a DIY headboard (will talk about at the end) make from old boards Cory got from work.
Bedding set is from Home Sense.
Walking in.
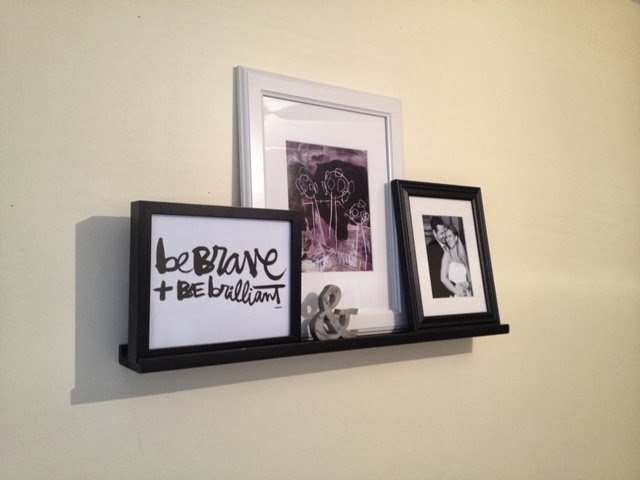
Three of my favourite prints/pictures.
A Kal Barteski print, Anna's drawing of our family and a wedding picture.
Top left clockwise: a thrifted serving tower turned jewelry holder, stems from Ikea,
jars turned candle holders, part of my heart rock collection.
Thrifted chair (love how chipped & peeled the paint is) turned stand, the first original art I have ever bought- an embroidered owl from Simply Stated Design. Every time I look at it it makes me so happy. Side note: I also think it would make a gorgeous tattoo!
Metal bust from Home Sense that I use for jewelry and the scarves I am currently wearing.
A close up of that fabulous owl!
Headboard DIY
I had always wanted a headboard and when Cory came home with a bunch of old boards from work to make a planter box I had a different plan. I didn't want the project to be complicated so I came up with the easiest method of creating a headboard I could think of. Cory put it together for me and I pretty much supervised the whole project. You know- the usual- he's good to me. The end result... I love how it turned out!
Supplies:
7 @ 1x8 boards
pewter screws
grey stain
a brush for staining
old cloths
drill, tape measure, level
- We measured how high we wanted the top horizontal board to sit (less one inch) above the bed, this was to determine how long the two vertical 1x8's needed to be. The less one inch comes into play because I didn't want to see the tops of the vertical 1x8's, with them an inch shorter you can't see the wood. We cut down the two vertical boards.
- We then measured how far past the bed we wanted the horizontal boards to sit. The horizontal boards were and didn't need to be cut.
- I then chose which order and which way I wanted the boards to face. I wanted the boards who had markings like knots to be facing and near the top. Cory then stained the boards.
- Cory then attached the horizontal boards to the verticals. Each horizontal board has 4 screws on each end going into the verticals. We used a level and measuring tape to get the most accurate spacing on those screws
- The headboard is attached to the wall just below the bottom board with screw and anchors.


1 comment:
It's hard to believe this was ever your office! Both spaces are amazing. It looks very cozy in here. Perfect for napping ;)
Post a Comment